Getting your film back fogged is one of the most disheartening experiences you can have with analogue photography. I’ve been there personally: a few too many passes through supposedly “film-safe” scanners were enough to ruin two rolls from a trip to Norway. That being said, there is a practical trick to navigating modern airport security that I rarely see others mentioning.
X-Ray vs. CT Scanners
The first thing to understand is that airports generally use two different types of scanners.
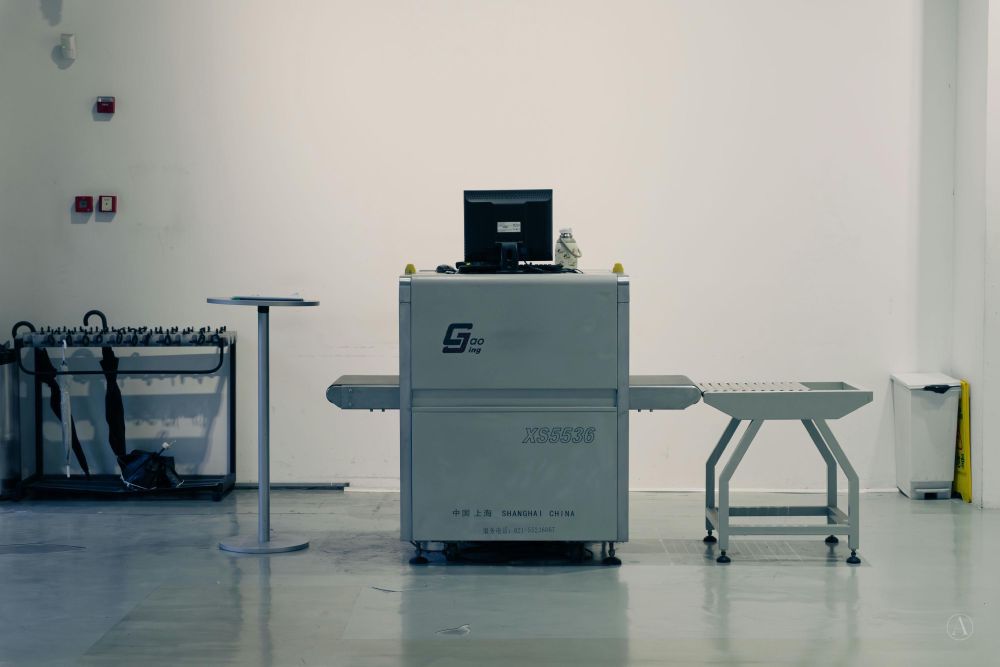
- Traditional X-Ray Machines: These are likely what you are most used to. You take items out of your bag and lay them flat because the X-rays penetrate from the top down only. Some of these older scanners are considered “film safe,” and typically, lower-ISO films can cope with a couple of passes before you start to notice any degradation.
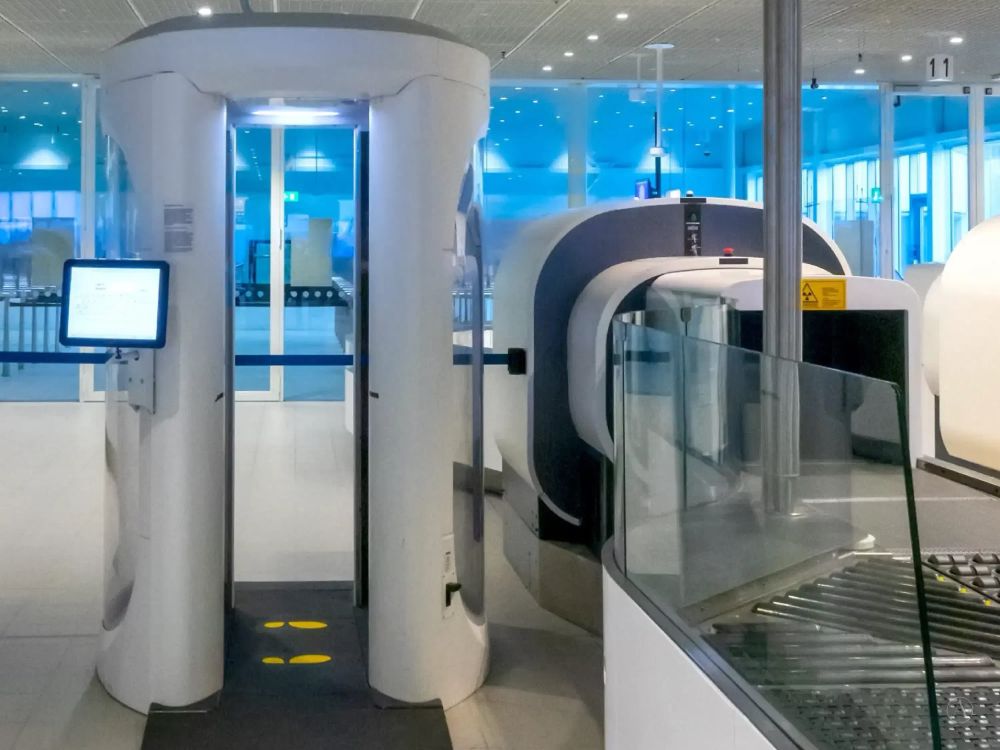
- CT Scanners: These are more powerful, modern machines that build a 3D scan of your bags, meaning you can often leave all items inside. However, these scanners expose your items to massively increased levels of radiation, and one single pass is enough to destroy your film entirely. When encountering these scanners, it is absolutely essential that you ask for a manual or hand inspection.
The best-case scenario at any security checkpoint is securing a manual inspection. To aid in that process, you need to make sure that:
- The film is completely unloaded from the camera.
- You can clearly explain to the security attendant that the film should not be scanned, ideally in their native language.
But what if you are partway through a roll of film as you approach the security line? Enter the Re-Load Trick.
The Re-Load Trick
The idea here is to rewind your partially shot film back into its canister, unload it for the security check, and then retrieve the leader to load the camera again later. It sounds great, but there are a few caveats to keep in mind:
- You must inform your lab that you did this, as the frame lines will typically be mismatched.
- Using a film retriever tool carries a slight risk of scratching the film if you are not careful.
Step-by-Step Process:
- Take note of your current frame number. Remember to double-check whether you have advanced the lever for the next shot or not.
- Rewind the film back into the canister.
- Remove the film canister from the camera and store it safely in a clear plastic bag.
- Pass through airport security, explicitly asking for a hand inspection of the loose film.
- Once through, use a film retriever tool to pull the film leader back out.
- Load the film back into your camera.
- Crucial Step: Keep your lens cap securely on, set your camera to the fastest shutter speed and smallest aperture (to prevent any light leaks), and shoot blank frames until you reach the frame number you noted in Step 1.
Now you are ready to continue right where you left off!
Tip: If you plan to do this at the beginning of the roll, use a marker to draw a line on the film leader before winding; this helps ensure the frame lines match perfectly when reloaded.
Downloadable Film Labels
As we’ve established, X-ray and CT scanning are incredibly harmful to your film. To help our journalists clearly communicate this to security staff—especially when there is a language barrier—we have created a set of printable warning labels.
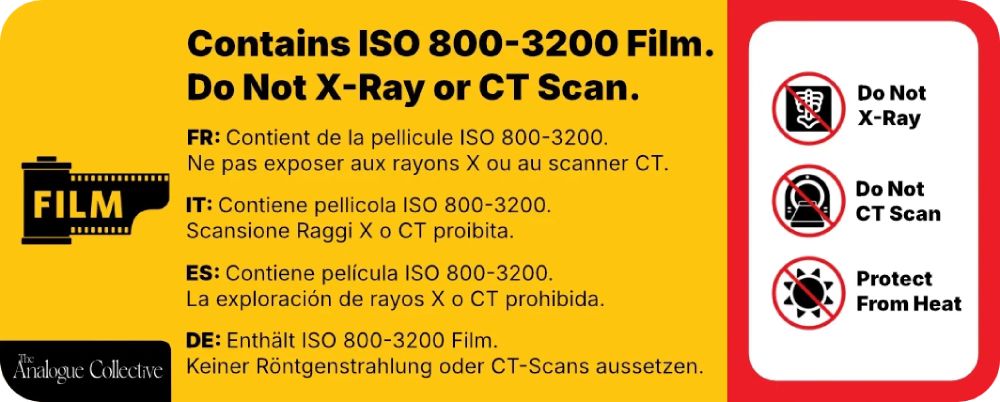
We are now releasing these labels publicly for our readers:
We have formatted these to be as easy to print at home as possible. The downloadable PDF contains a single-sheet layout featuring 2 large labels and 6 small labels. It is perfectly sized to fit onto a standard A4 sticker sheet format with 4 segments per page (specifically known as the Avery-L7169 format).
- Small Wrap-Around Labels: Designed specifically to fit around individual 35mm film canisters or more generally for other containers.
- Large Portrait Labels: Perfect for sticking onto the outside of the clear Ziploc bags you use to carry your film.
These labels include multiple European languages and can be a lifesaver when trying to explain your needs to a security officer abroad. These are the exact labels that our editorial team uses when travelling. (Note: If you are a paid subscriber, reach out and we will post you some professionally printed labels!).
A Note on “X-Ray Proof” Bags
On paper, lead-lined X-ray-proof bags sound like the ideal solution. However, you have to remember that airport security must know what is inside every bag. If an opaque block shows up on their screen, they won’t just let it pass. Security officers will either run the bag through multiple times to penetrate the lead, or reject the bag entirely and pull it for a hand inspection anyway. Because of this added friction, these bags are generally not recommended.
…
Using these tips has helped our team travel easily through airports and saved countless images. It is one of the more logistical hurdles of film photography, but putting these practices into place makes flying with analogue gear perfectly manageable.
